5.5.3 Manually configuring the Card's IPv4-Address seen by the Host |
How to assign a static IPv4 address to your SP-ICE 3 Card.
|
Open the card's Web Interface by following the instructions in 17.2 How to Open the Card's Web Interface
Obviously, we will need to know (or obtain) the card's current IPv4 address, or its IPv6 address, before we can do this.
Please refer to: 5.5.2 Obtaining Card IP-Addresses.
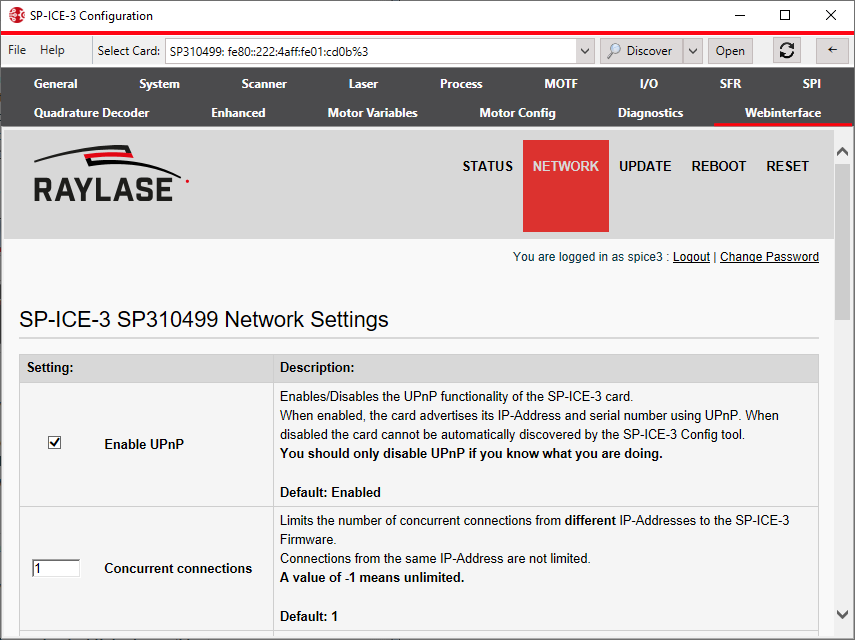
Select the NETWORK page on the Web Interface.
Scroll down to the eth0 or eth1 address/mask entry fields, as necessary.
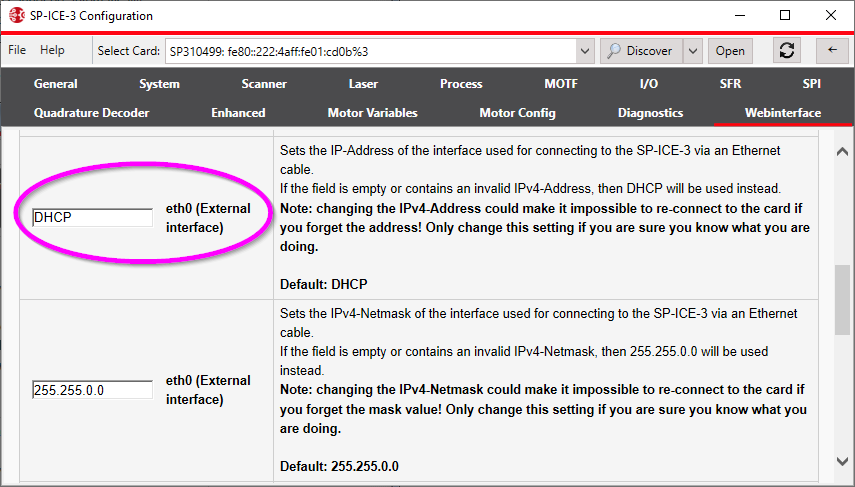
Enter your desired address/mask values, and then click the Save Network Settings button (at the bottom of the NETWORK page).
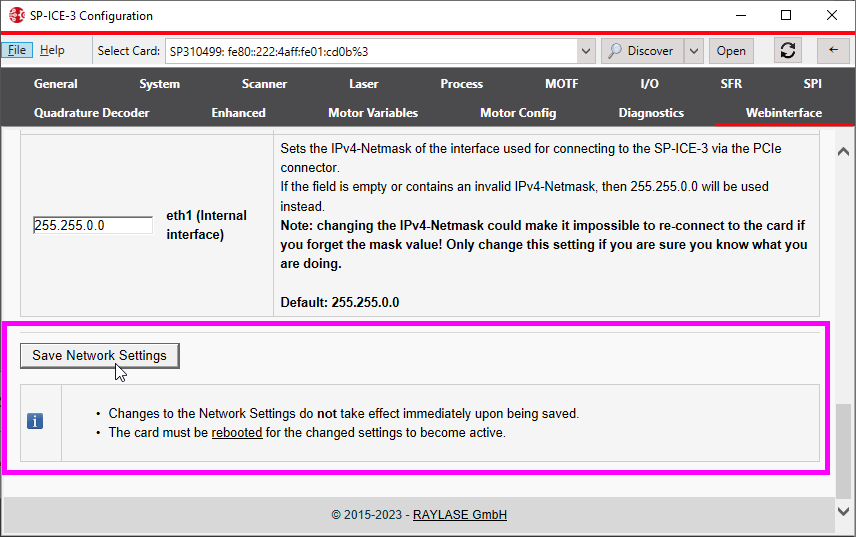
The card stores the values in EEPROM, and will use them next time it is (re)booted.